Biscuits and Bread
During the pandemic, I became enraptured, as many people did, with the humble sourdough starter. I took good care of my starter, Bertha, for a good 2.5 years until one day I neglected her for a bit too long and met the consequences. After that, I took a break from baking sourdough. While it is super rewarding, it also requires quite a bit of time.
Over the past few months, I started getting into the hobby again. Purchased another sourdough culture on the advice of a friend, and as it grew bubbly and strong I decided to name it Pheonix Rising, or Nix for short.
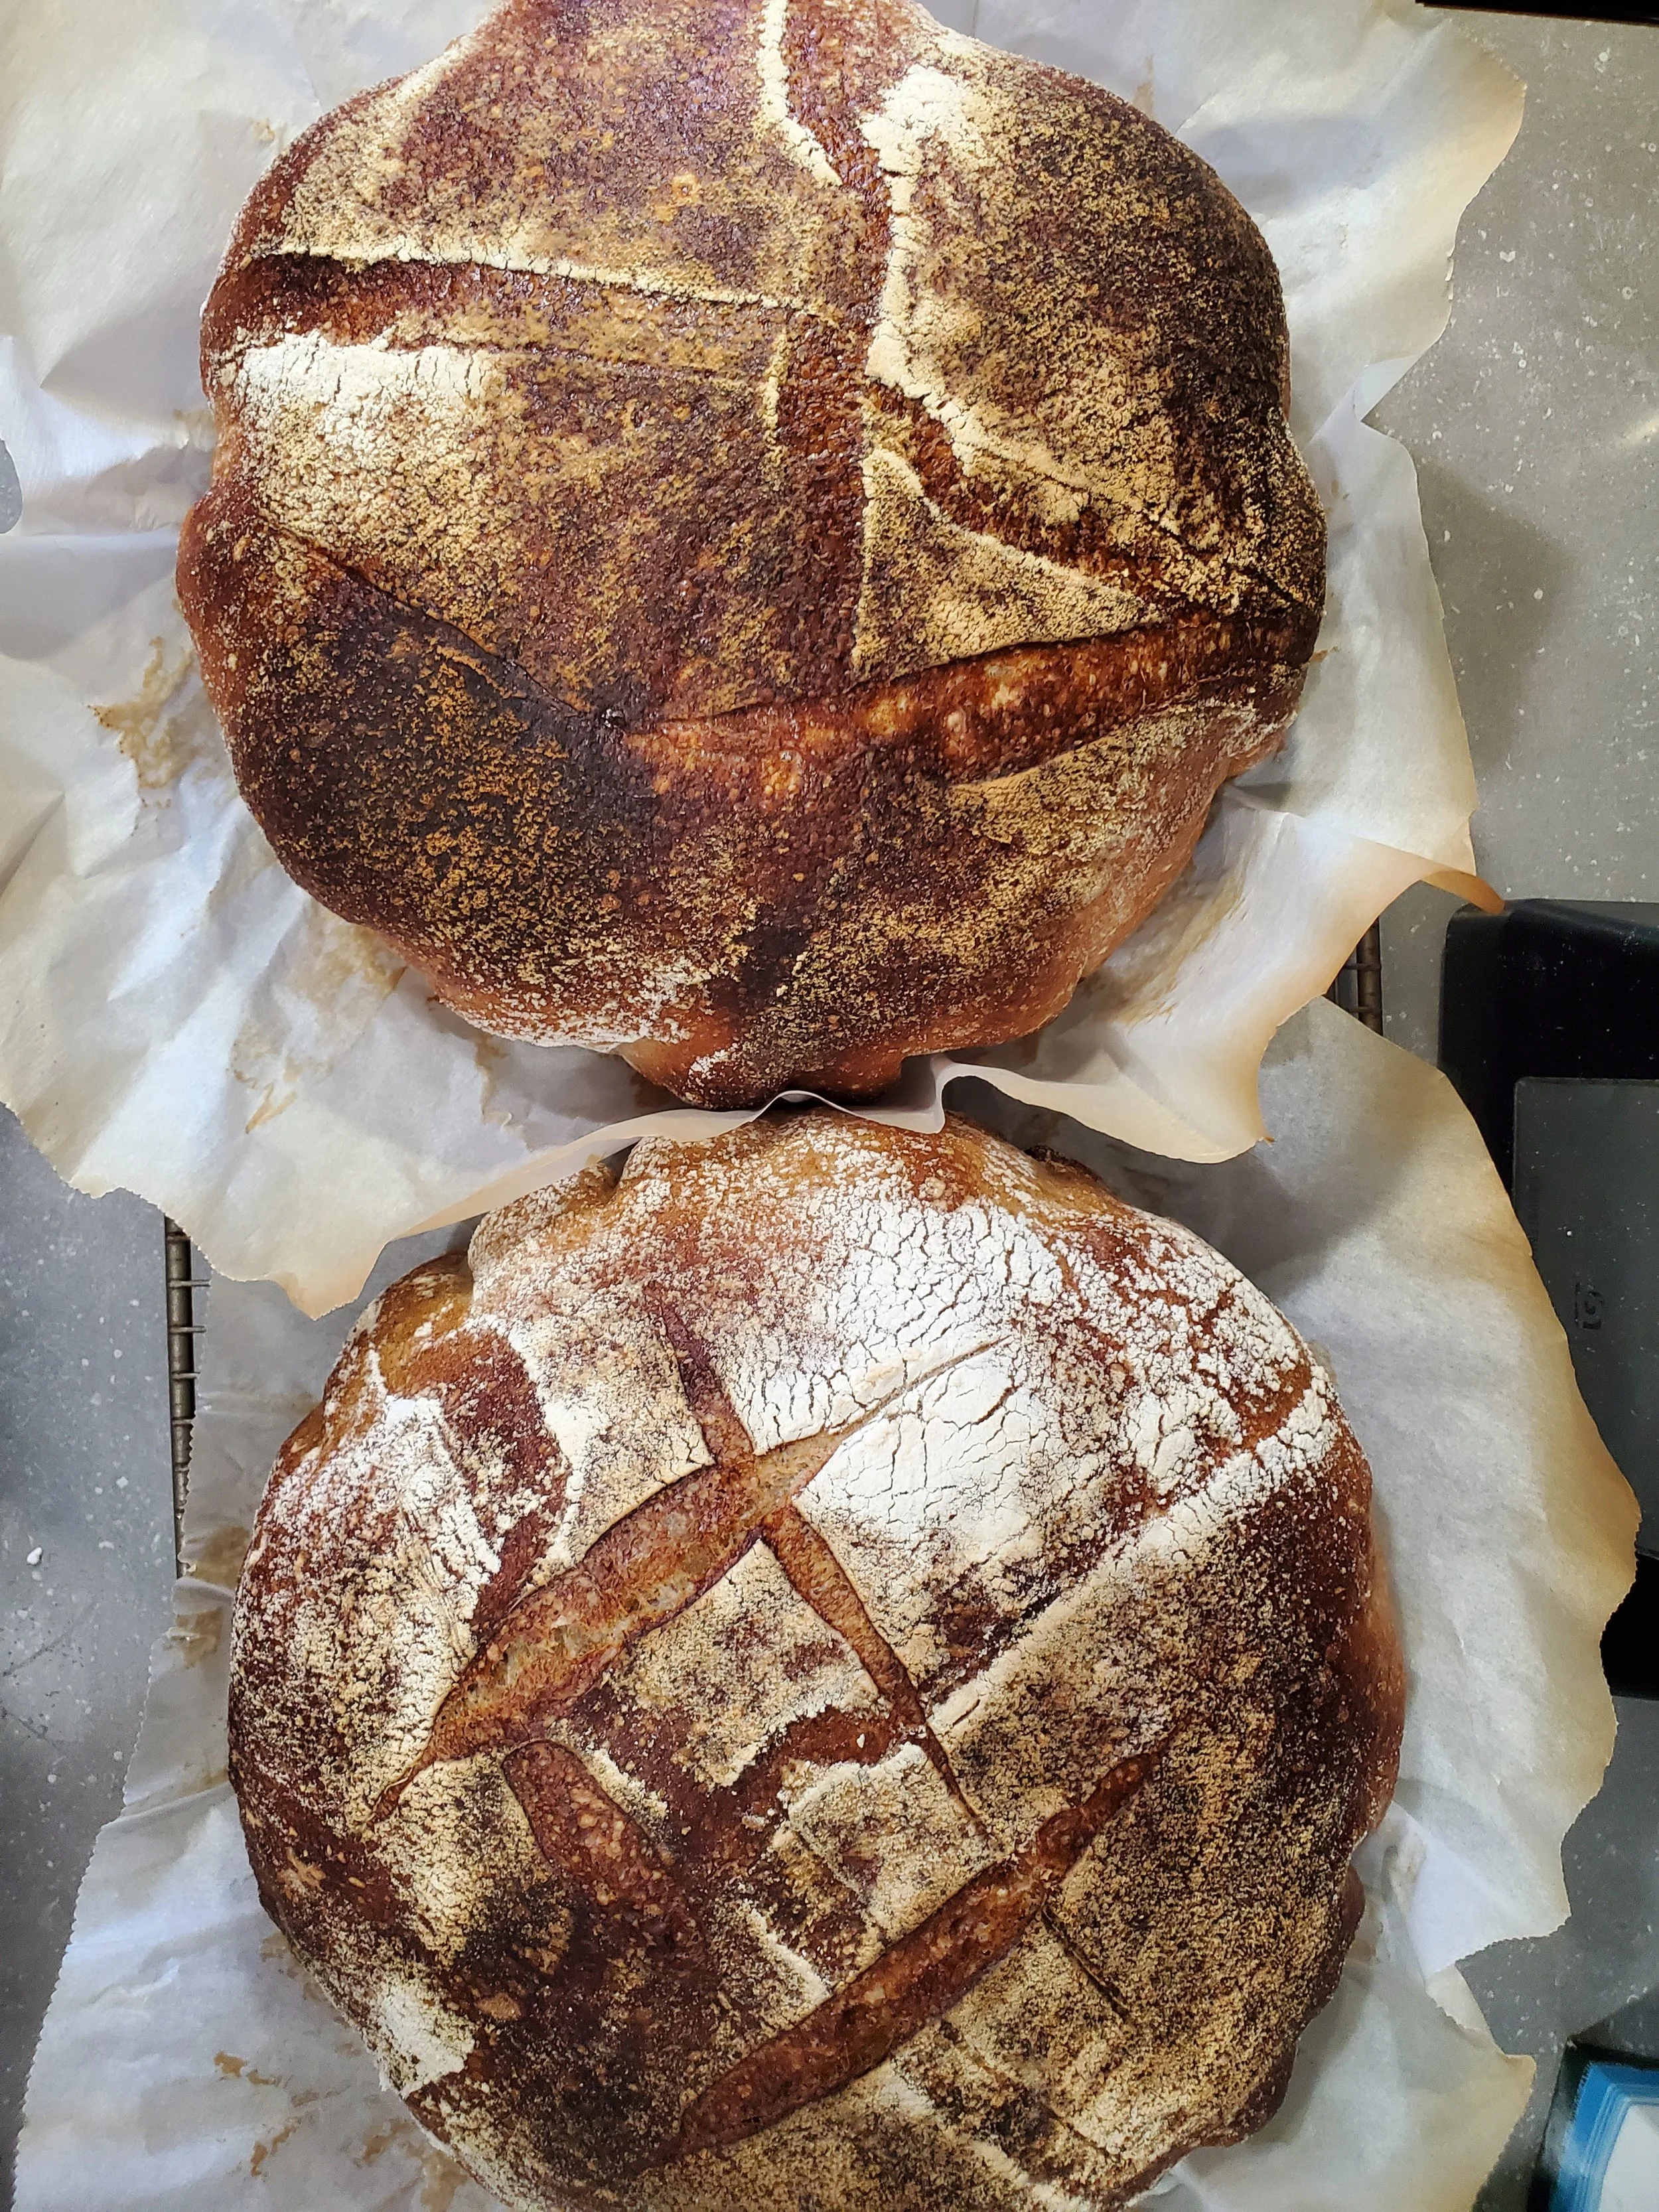
Cue the reason for this post, I tried making a couple sourdough loaves using Claire Saffitz's sourdough ratios. The big thing about this kind of baking is that the starter is super sticky, and you really want a high hydration (high water content) which makes your dough sticky, loose and unwieldy. It's okay, always keep a bench scraper close. When doing the shaping step, sometimes I put the dough in the fridge at the end of bulk fermentation. Just makes it a bit easier to work with since you don’t want to add a ton of flour. Working quickly during the proofing step is important - and if things stick, no worries! Add a bit of flour, steel yourself and face that dough bravely - it can smell fear.
Sourdough loaf recipes often follow a similar set of steps. Here is what I learned is the general process.
1) Feed starter the night before so that it is bubbly and active - this usually involves weighing out a certain amount of starter and mixing in equal parts water and flour (using a scale for this makes it super easy).
2) Sometimes, there is an autolyse step where you mix water and flour and let it sit for about an hour before mixing in the rest of the ingredients.
3) Next, there is usually a series of stretch and folds every 30 minutes for 2 hours. This involves grabbing the dough from each corners and folding it over itself, one fold at a time. This develops gluten which helps create structure.
4) After this, the dough rests in a step called bulk fermentation. This just means, give the dough time to develop flavour and do its thing.
5) Finally, there’s a shaping step that may include a bit more wait time in between shaping the loaves into round boules or oblong loaves. They get added to proofing bowls dusted with flour or rice flour - you could literally use any bowl with clean kitchen towel - and then put in the fridge covered for a long overnight proof.
6) The next morning, heat your dutch oven or two cast iron dishes (one deep, one shallow) in the oven and then the dough gets flipped onto a piece of parchment and dropped in to bake covered and then uncovered until it develops golden to dark brown colour, and sounds hollow when you tap it.
Note: Allow your loaf to sit on a wire rack and cool for at least an hour before cutting in to get a nice even slice.
The type of flour you use will directly impact the colour of the loaf. In the loaves above, I used a combination of all purpose, rye and whole wheat flour.
Housekeeping: And make sure to wash your starter off of any dishes, clothing and your hands as quickly as possible because once it dries it's like cement. And never put your starter jar in the dish washer if it has a bit of starter stuck on - all of your dishes will be covered in it and it's impossible to get off. I speak from experience.
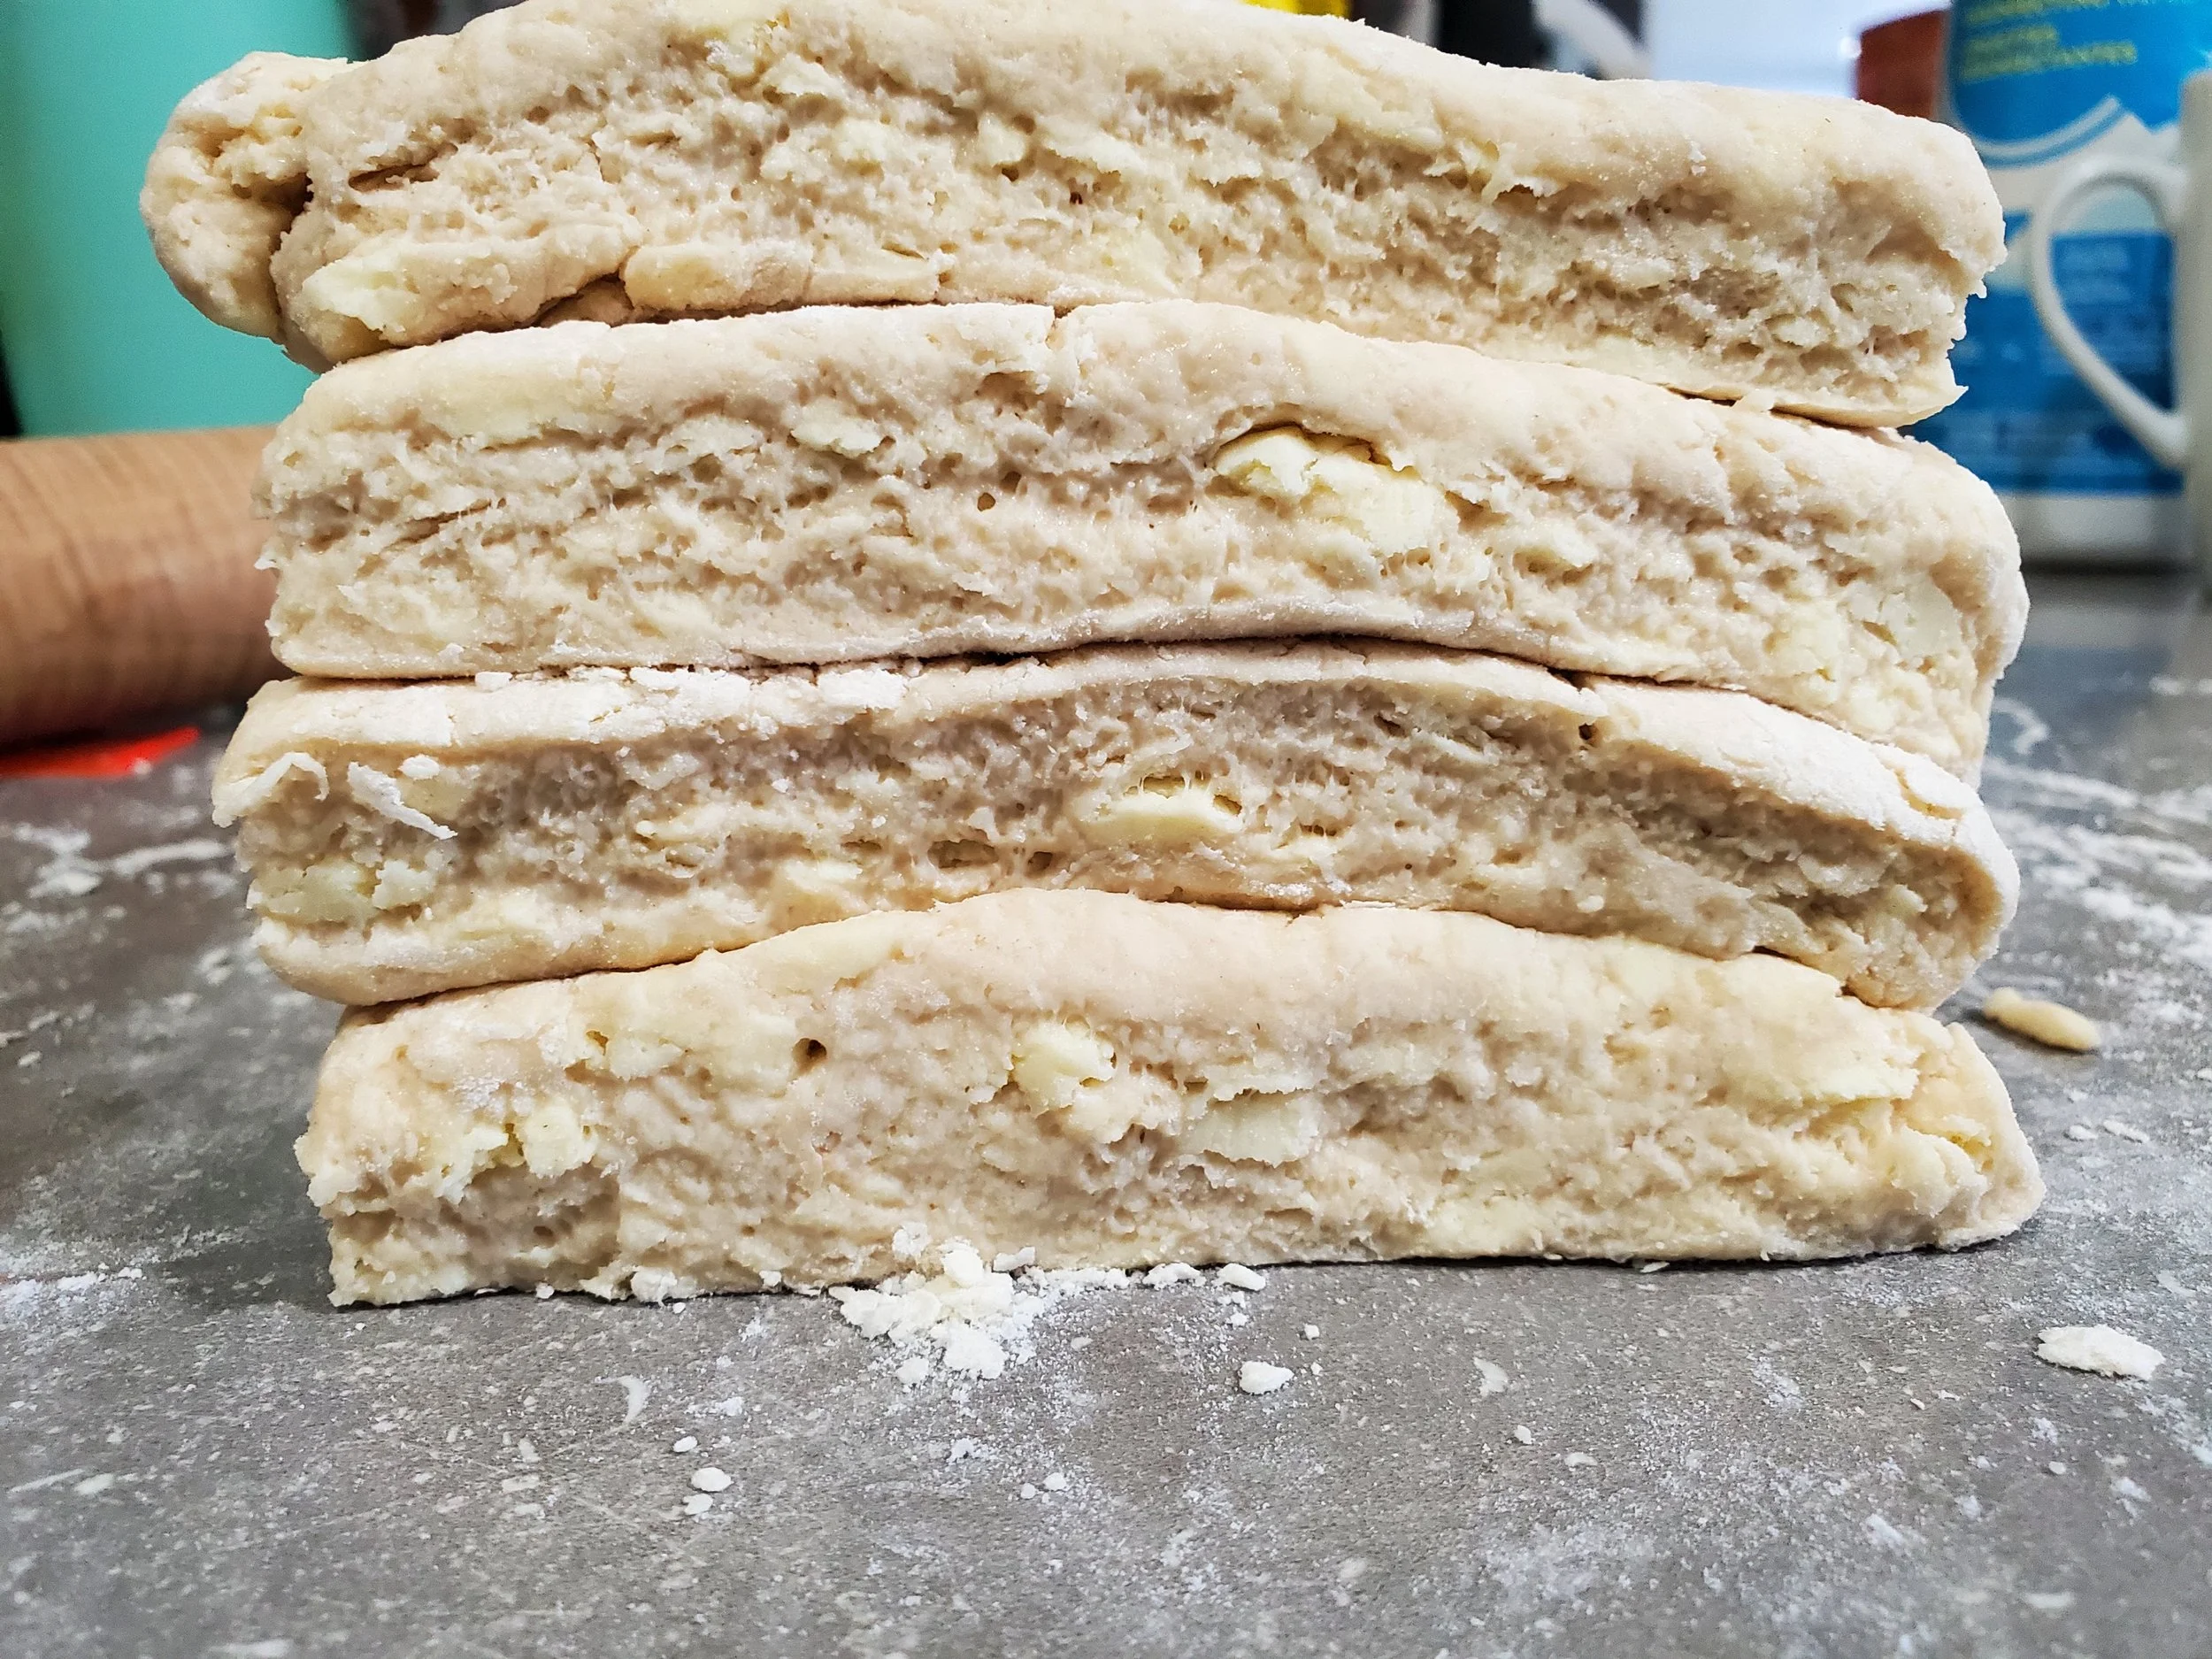
As I continued to use my starter and watch it grow lively, I started thinking more about fermentation. I have been wanting to make ‘miso buttermilk biscuits’ for some time, but never had it in my fridge when I was struck with the impulse to bake. Recently, I had gotten some white miso to make soups and add to sauces. Took the chance to finally make this recipe, and it’s fascinating how a single umami bomb of an ingredient can fundamentally change a dish. These biscuits are buttery, soft and crunchy and have an almost cheesy, garlicky taste because of the miso. They reminded me of eating cheddar garlic biscuits at Red Lobster as a child.
This dough comes together so quickly. The key is to have all ingredients measured, the butter cut uniformly and frozen until it isn't rock hard but very, very cold. The big thing with biscuits and pastry is you want it mixed properly, but not overly worked because that creates too much gluten and causes the butter to melt and potentially leak. Quick work, similar to the shaping step when making sourdough loaves, is essential here. And, the best tip is to roll, cut and stack the dough before rolling it out to cut and bake. This really does create such perfect layers.
I made a ton of biscuits, and ended up freezing them unbaked. When you freeze the dough, over time the baking soda loses some of its oomph and the miso turns the biscuits almost grey. The flavour is still great, but the lift and colour is not ideal. I decided I would cut them into little croutons and toast them up to top some creamy homemade tomato soup. Highly recommend! But, it might be more worthwhile to bake all the biscuits first and freeze any extra once cooled.
